Reference 01
Low Fidelity
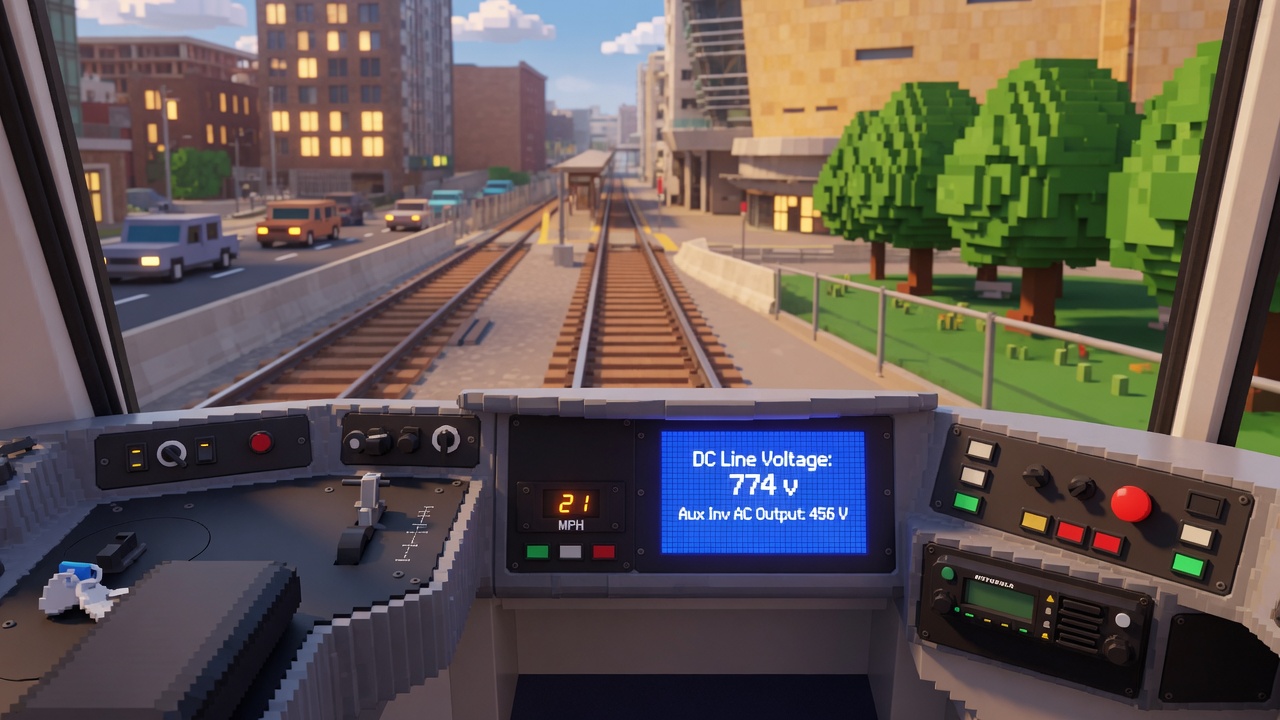
A heroic defense of the polygon budget: boxy trees, reusable scenery, and just enough route detail to prove we did, in fact, leave Minecraft.

Three visual references for discussing the level of exterior vehicle and route-environment detail appropriate for the Metro light rail simulator.
Representative examples for conversation—not a specification or final visual target.
A heroic defense of the polygon budget: boxy trees, reusable scenery, and just enough route detail to prove we did, in fact, leave Minecraft.
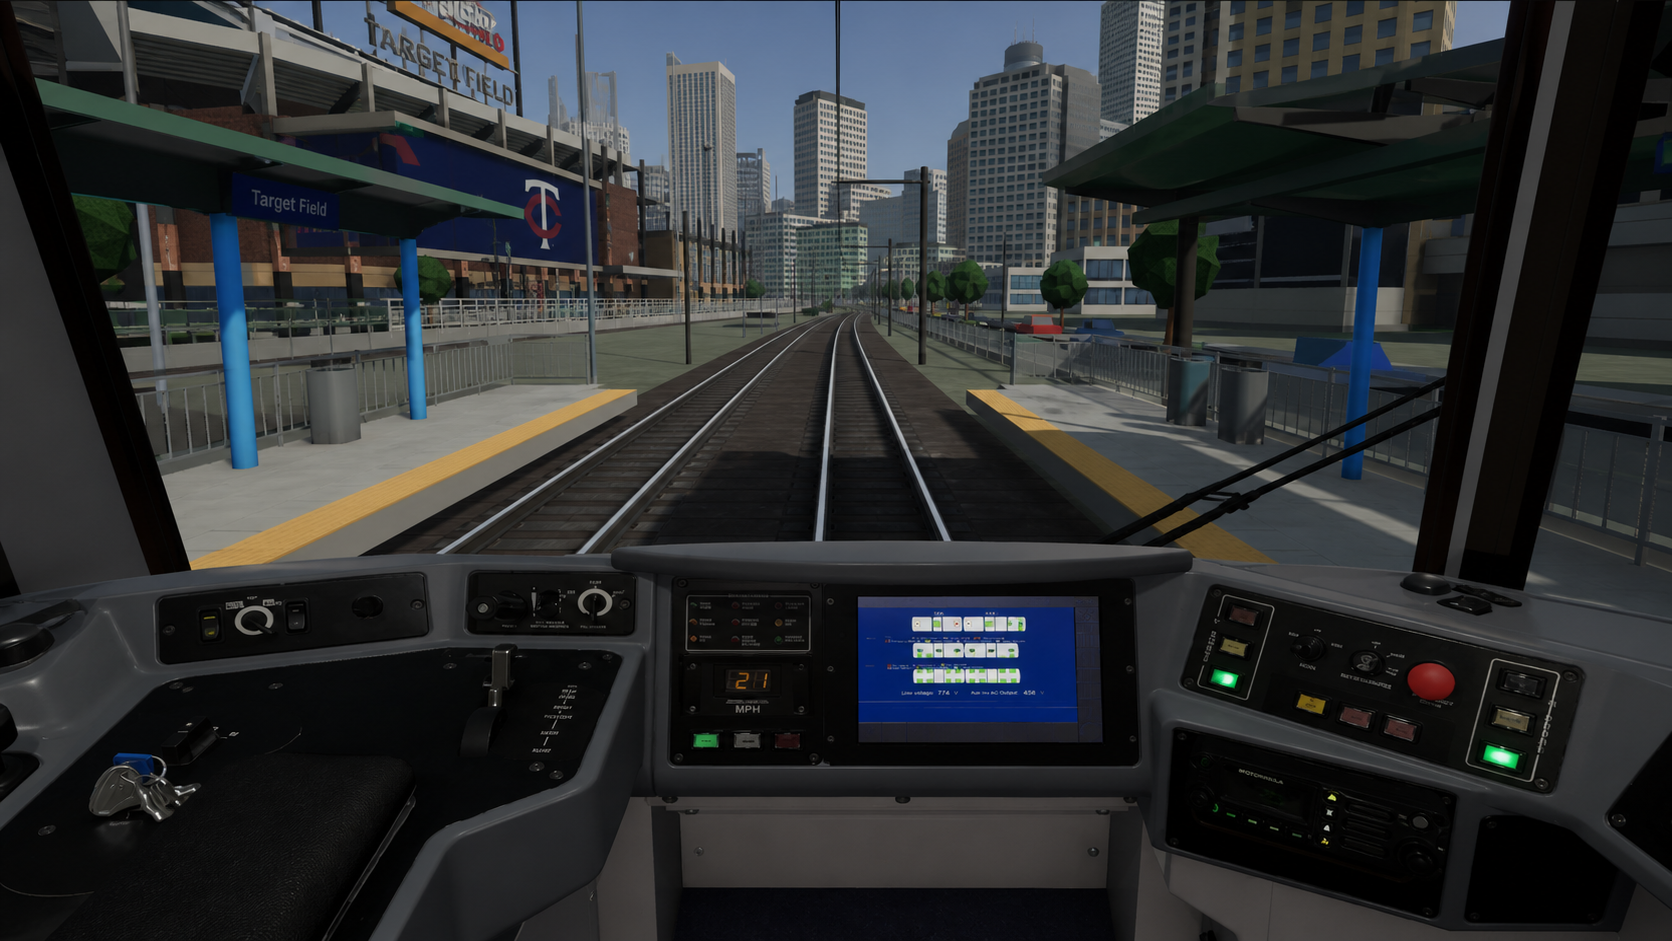
Recognizable corridor features, selected landmarks, and practical environmental detail—enough to make the route feel right without modeling every shrub in Minneapolis.
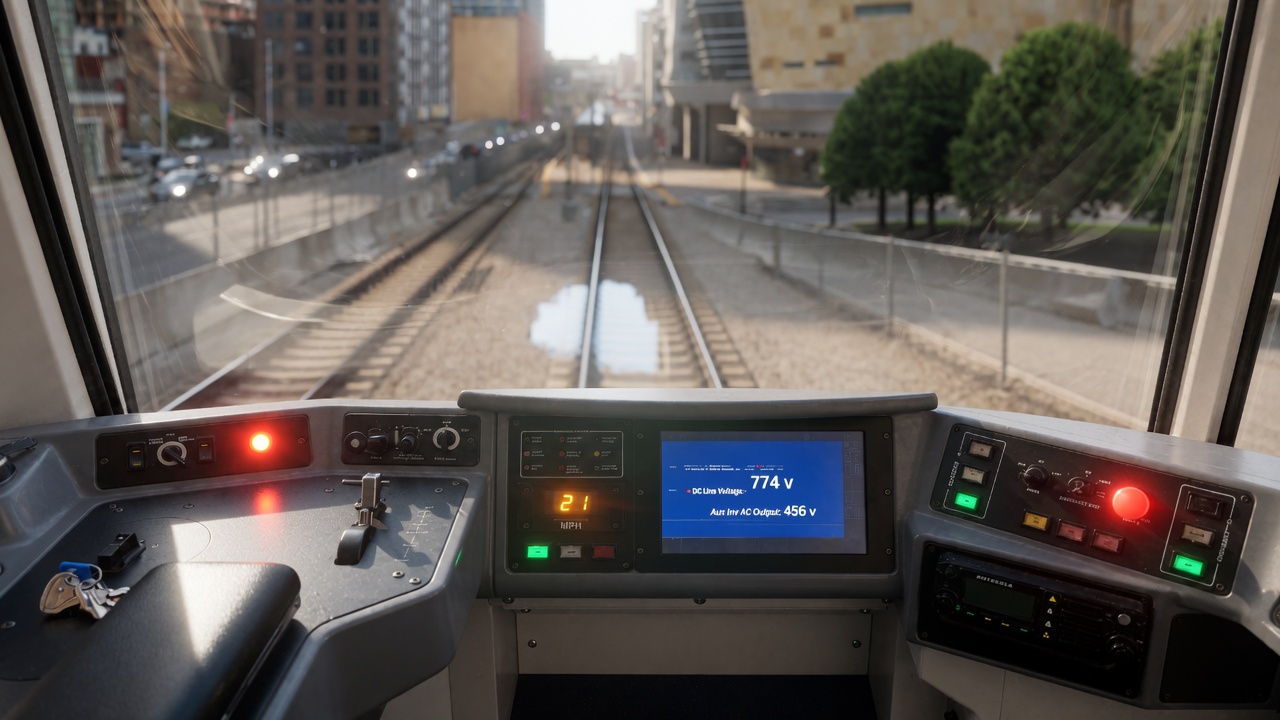
Every rail operator deserves a heroic entrance: bokeh, god rays, glass reflections, depth of field, and one lens flare away from a summer blockbuster.
Let’s agree on what needs to look familiar, where we can simplify, and where extra detail is actually worth the time.
Each source is shown at its natural aspect ratio with the complete frame visible. Review details at full page width before selecting a representative target.
Boxy trees, reusable scenery, broad route cues, and a fiercely protected polygon budget keep this world proudly one block beyond Minecraft.
Selected landmarks and practical environmental detail make the corridor recognizable without modeling every building, tree, and shrub along the route.
Bokeh, god rays, glass reflections, depth of field, and a heroic lens flare turn the route into the summer-blockbuster cut.